What is the Installation Process of a Residential Elevator?
June 27, 2025
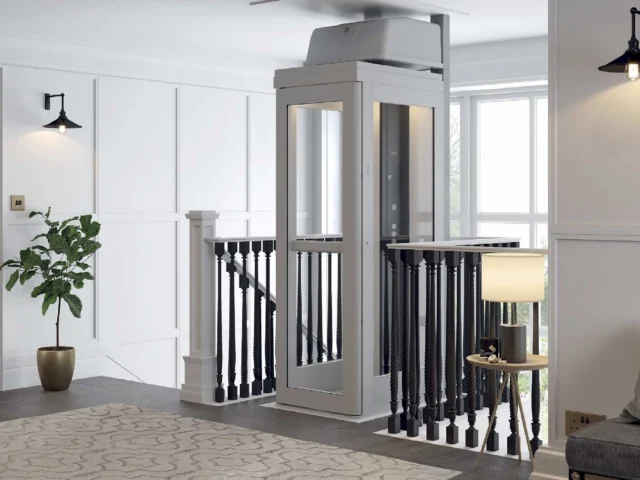
The installation process can vary based on the type of residential elevator, placement, and drive system. Certain elevators might require a space for an air compressor or a pump room. Shaftless elevators, like the Pollock Home Lift, are much less involved and require minimal construction. Read on for an example of a simple elevator installation.

Preparing for Construction to Install Your Home Elevator
When preparing for your home elevator, it’s important to ensure that the installation site is cleared of all furniture, household items, and pets. Any entry to the room should also be closed off to keep unwanted visitors out of the area. This includes both floors that will offer elevator access.
When the team arrives, the builders will board the downstairs ceiling with props prior to creating the aperture – this ensures safety for the installation team.
Home Modifications to Accommodate a Home Elevator
Once the lower level is prepared and secured, the team will head upstairs and begin work on the floor. This is when they will remove any carpet and necessary flooring to form the aperture.
Support timber will then be placed on the aperture as a temporary cover to ensure safety for the team and the homeowner before your elevator install team arrives. At this point, the carpet will also be rolled back and cut around the aperture – this piece will be used to cover the upper trap door so the floor looks complete when the lift is on the lower level.
An electrical contractor will come to assess the installation site and review the electrical requirements with the homeowner. Once an agreement is made, the electrical contractor will isolate the work area and install a dedicated power supply.
What Happens the Day of a Residential Elevator Installation
It’s the day of your home elevator installation – congratulations! You can expect a team of professional installers to arrive at your home at your agreed time, ready to work. This installation can take up to two days, depending on the size, complexity, team size, and environment. However, this will have been discussed prior to the day of installation.
With the Pollock Residential Elevator, two rails are installed beside a wall – but not on it. This way. The wall will not be damaged while leaving ample space for all household members to enjoy the room when the elevator is parked elsewhere.
Once the elevator is installed, the team will test the elevator to ensure it is in good working condition and all safety systems are set. They will then work with the homeowner and any caregivers present (highly recommended!) to review elevator use, maintenance, and best practices. They will work with the homeowner and caregiver for as long as needed – safety first!
Once finished, the team will hand over the Pollock Residential Elevator owner’s manual and service log. Their contact information should also be easily accessible for any questions or concerns once they leave the home.
After the Home Lift Installation
Once the elevator is installed and the team has left, it’s up to the homeowner to clean the elevator and ensure routine service and maintenance checks are completed when necessary. Residential elevators are a great investment, but to keep them running as needed, it’s important to take care of the units.
To learn more about how to maintain your residential elevator, visit our Elevator Buyers Guide.
Interested in Becoming a Distributor?
If you are looking to expand your product offerings or trying to reach a new market, then the Pollock Residential Elevator could be perfect for you. Reach out to our team to learn more.


